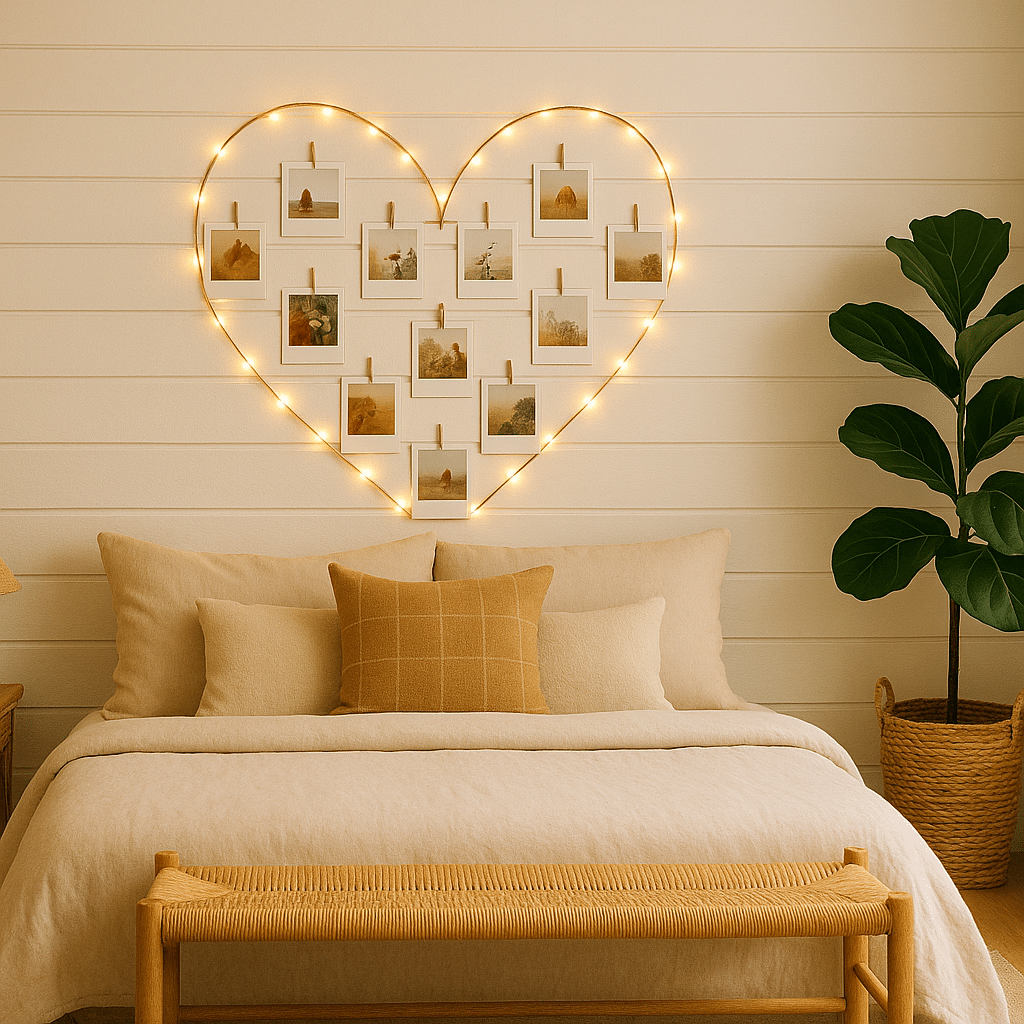
Give your bedroom a fresh new look without overspending. Pick a few of these easy weekend DIY bedroom decor projects, each laid out with materials, clear steps, and pro tips to help you make it yours.

Wall Decor
1. Heart-Shaped Photo Collage
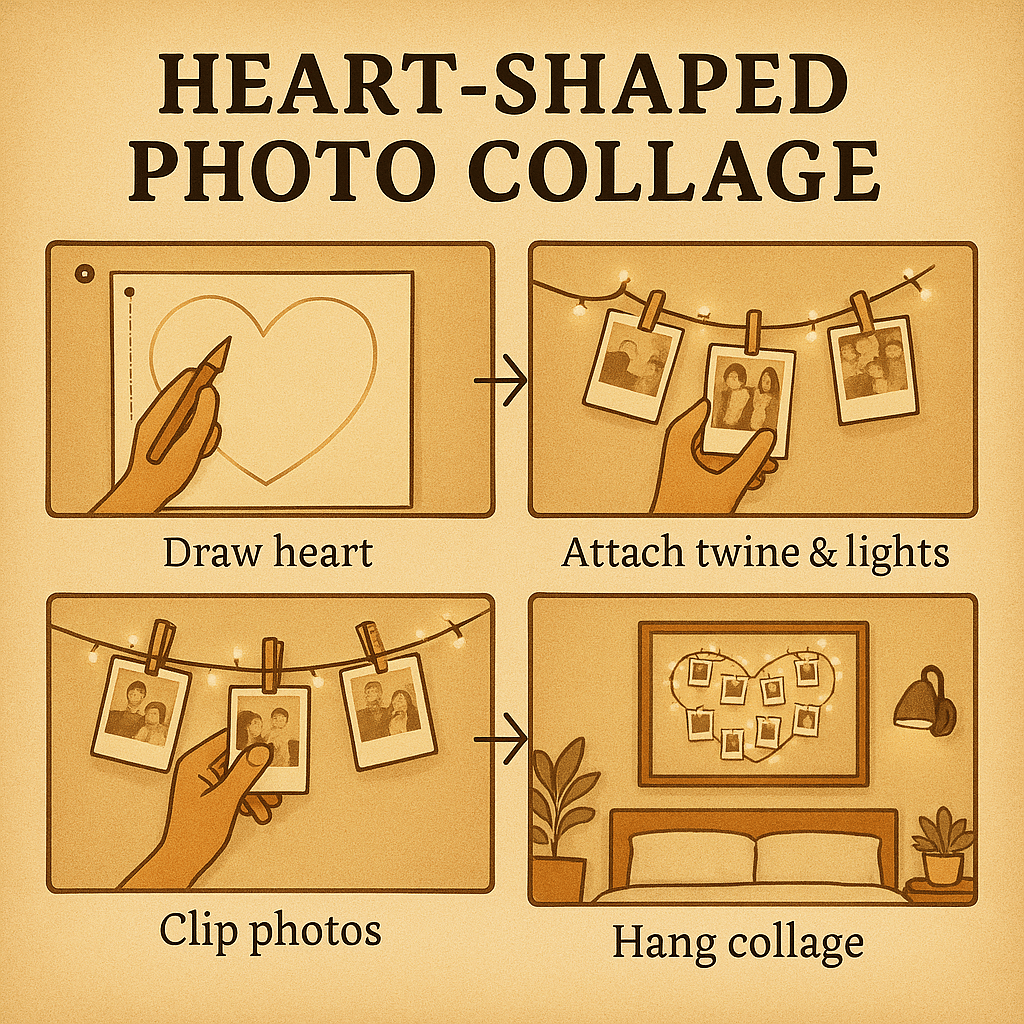
Materials
- 20–30 printed photos (Polaroid-style or standard)
- Large sheet of craft paper or poster board
- Pencil and ruler
- Double-sided tape or removable mounting squares
- Scissors
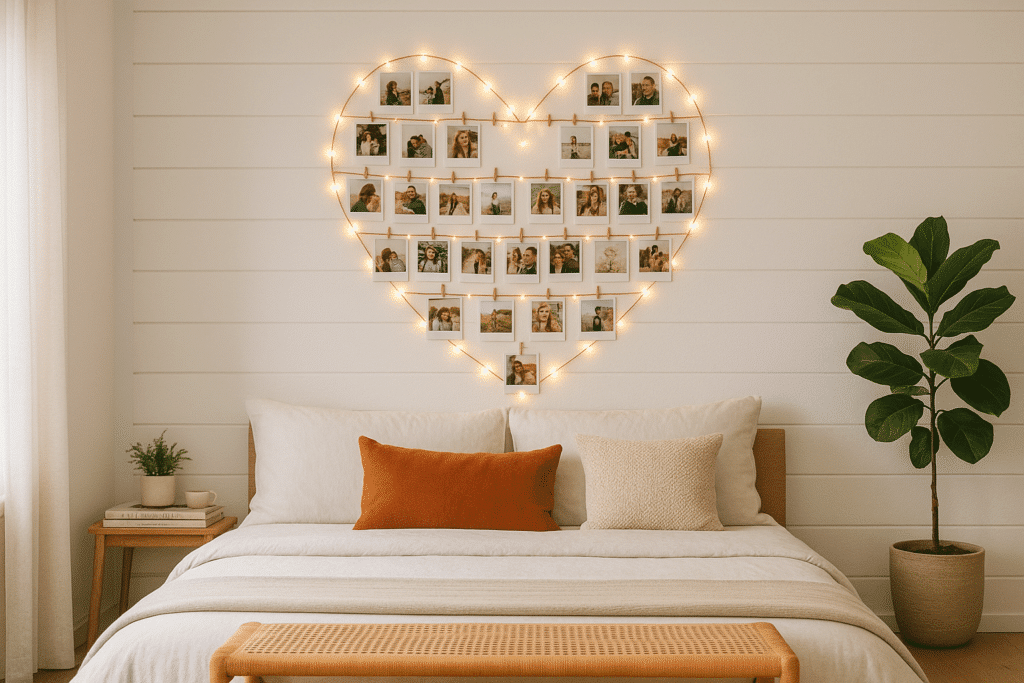
Steps
- Plan your shape. Lightly draw a heart on the poster board, about 2–3 inches larger than your photo prints, using a pencil and ruler.
- Arrange your photos. Place photos edge-to-edge along the outline, adjusting spacing until the heart looks balanced.
- Trim as needed. If any prints overlap the heart too much, trim their edges slightly so they align neatly.
- Mount to the board. Peel tape backing and press each photo onto the board, working from the top down to prevent shifting.
- Hang on your wall. Use removable mounting strips on the back of the board, pressing firmly for 30 seconds before releasing.
Pro Tip: Swap in seasonal prints—travel snapshots in summer, cozy moments in winter—so your display stays fresh.
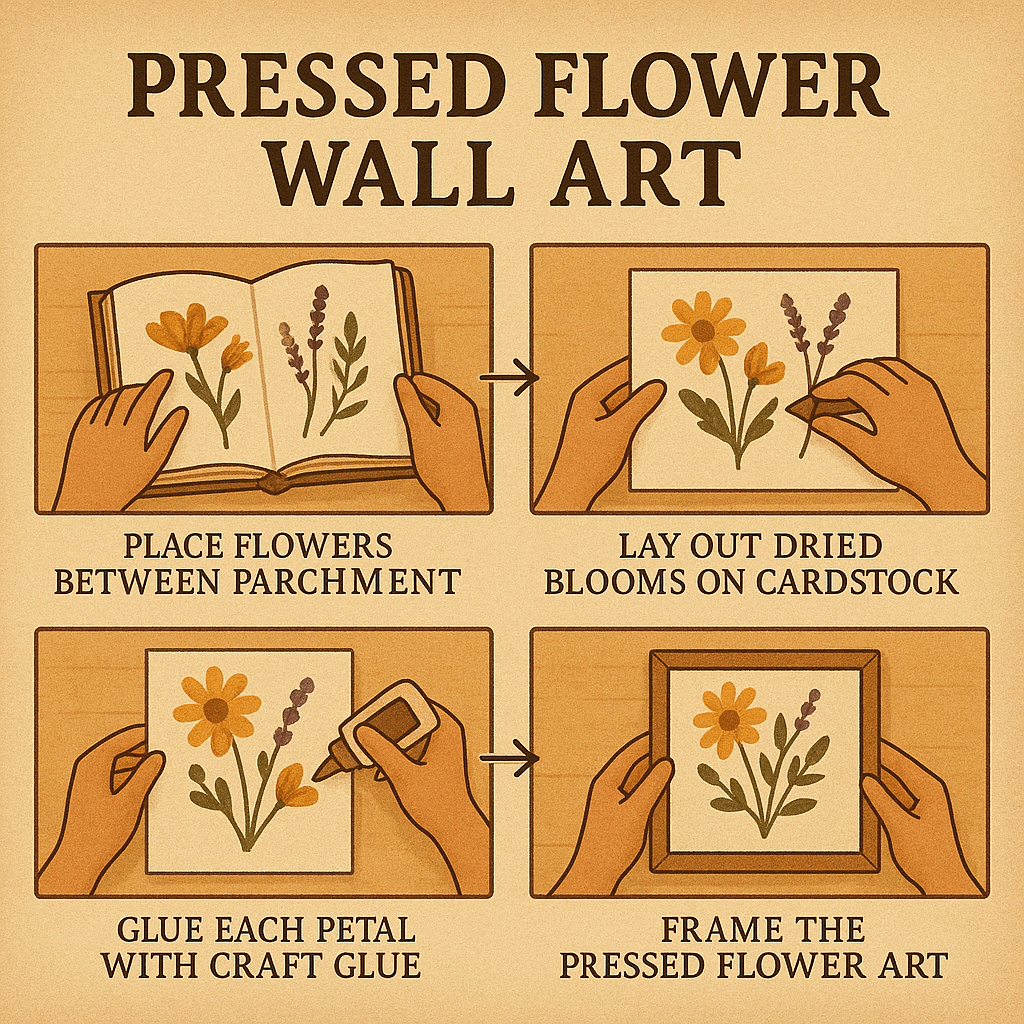
2. Pressed-Flower Wall Art
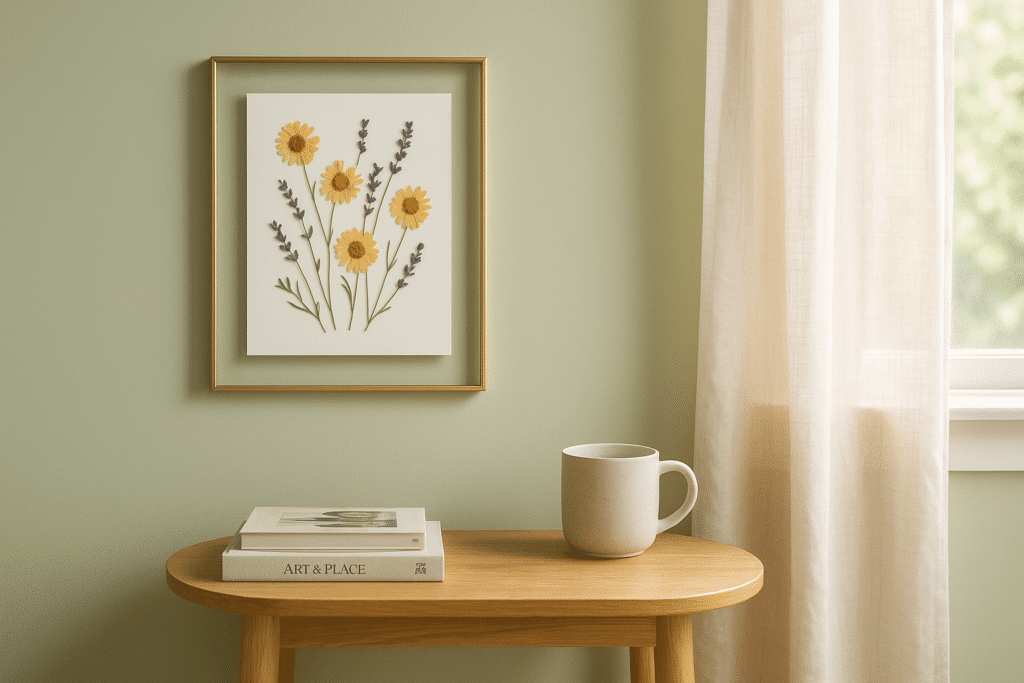
Materials
- Fresh flowers or leaves
- Heavy books or flower press
- Parchment paper
- Acid-free cardstock or watercolor paper
- Clear glass or acrylic frame
Steps
- Press your blooms. Sandwich flowers/leaves between two sheets of parchment paper, then stack inside heavy books. Leave for 7–14 days until fully dried.
- Plan your layout. On cardstock, arrange pressed pieces in a pattern (clustered or evenly spaced) before securing.
- Adhere gently. Use a tiny dab of clear-drying craft glue on the back of each petal or leaf, pressing lightly.
- Frame it. Place the mounted cardstock into the glass frame without backing, so light passes through the petals.
- Hang or lean. Secure the frame at eye level to let natural light highlight the colors.
Pro Tip: Choose translucent petals (like pansies or hydrangea) for a stained-glass effect when sunlight hits.
Headboards & Beds
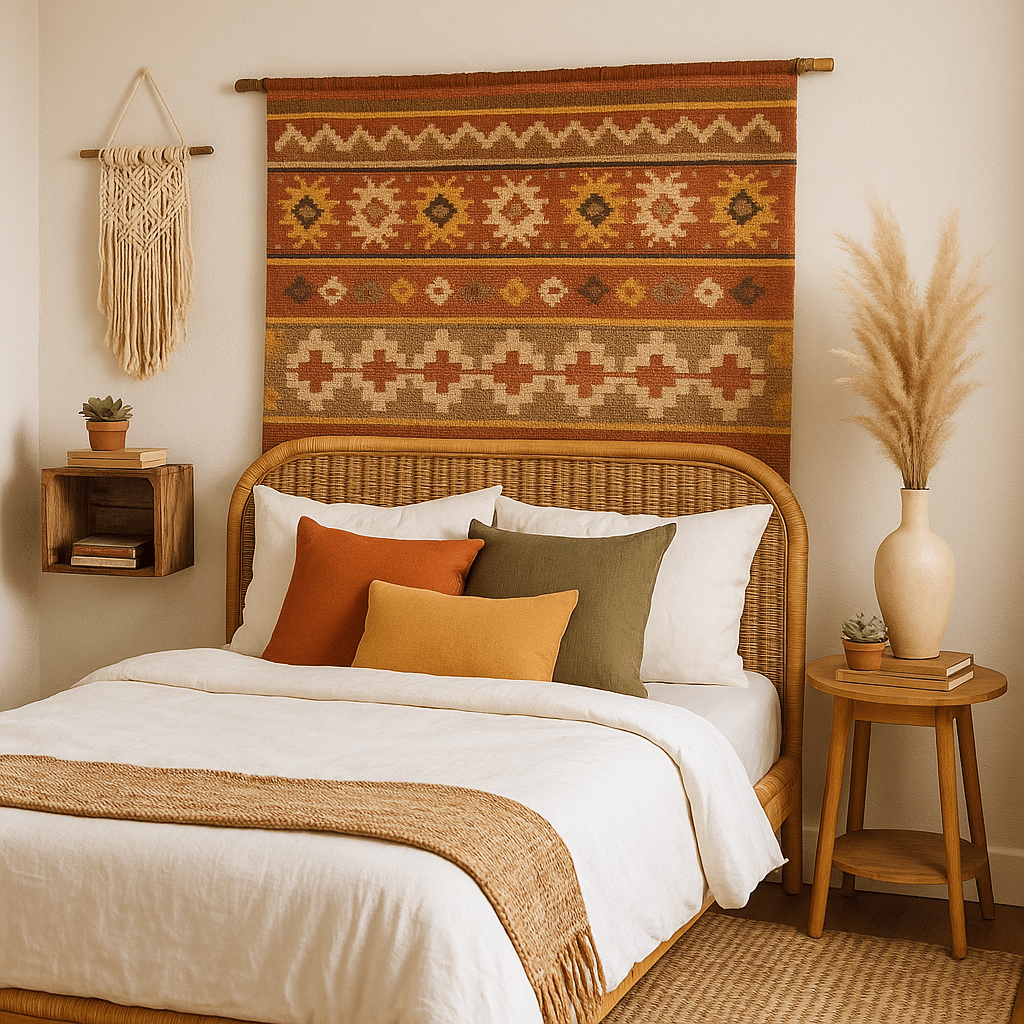
3. Rug as Headboard
Materials
- Lightweight rug (2–3′ wide)
- Sturdy curtain rod or decorative wooden dowel
- Wall anchors and screws
- Ribbon or fabric straps (optional)
Steps
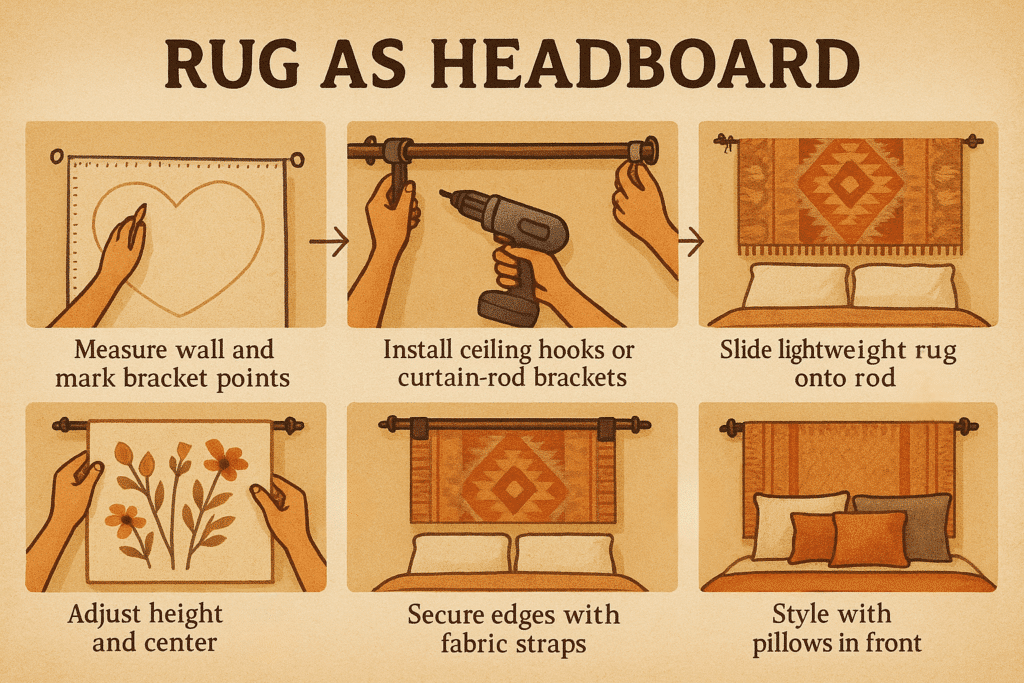
- Measure and mark. Find the center above your bed at headboard height; mark two bracket points 2–4″ from the ceiling.
- Install supports. Drill in wall anchors, then secure the curtain rod or dowel across the marks.
- Attach rug. Drape the rug over the rod, ensuring equal length on each side.
- Add straps (optional). Loop ribbon around the rug top and tie to the rod for extra stability.
- Style. Fluff and adjust the rug pile so the colors and pattern shine.
Pro Tip: Swap rugs seasonally—thick wool in fall, lightweight cotton in spring—for instant style shifts.
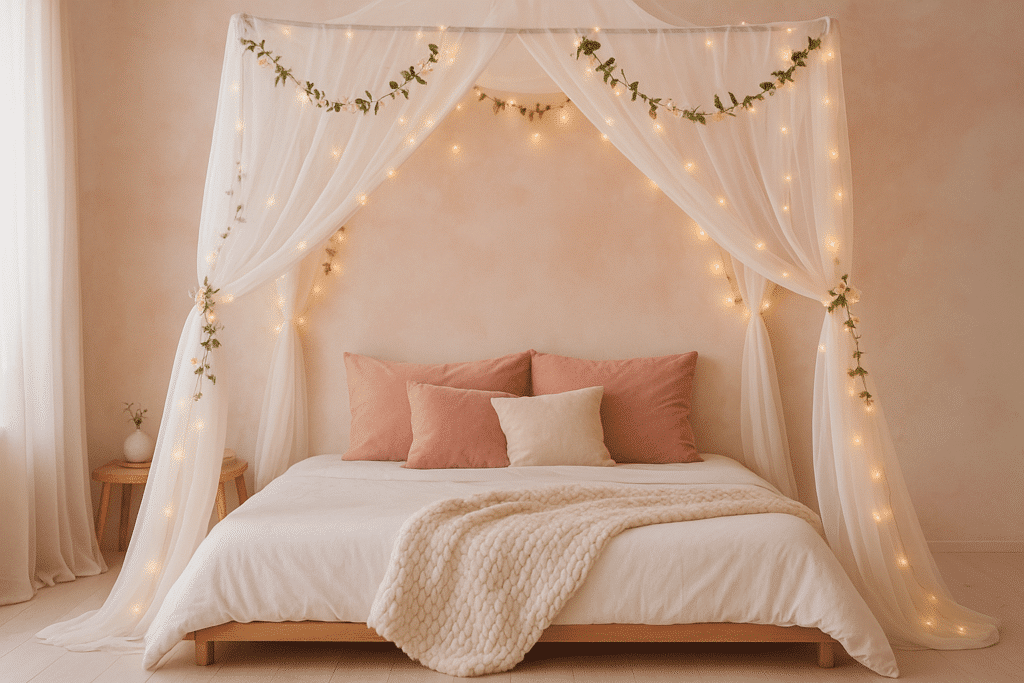
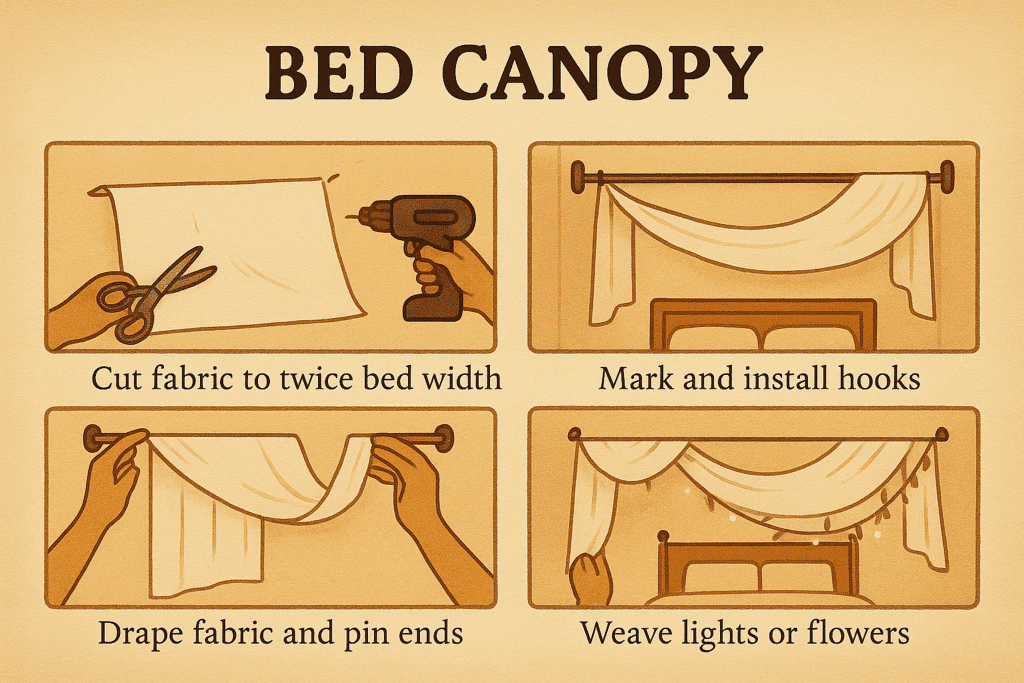
4. Bed Canopy
Materials
- Sheer fabric or drapery panels (2× bed width)
- Thumbtacks, adhesive hooks, or ceiling hooks
- Measuring tape
Steps
- Measure fabric. Cut panels about twice as long as the bed is wide for billowy drapes.
- Mark anchor points. Above the bed’s four corners, place a small hook or tack in the ceiling.
- Hang fabric. Drape the center over one hook, then drape ends to corner hooks—allowing soft folds.
- Secure lightly. If needed, tie the fabric ends to the bedposts or tuck under the mattress.
- Embellish. Weave fairy lights or faux greenery into the folds for a cozy canopy vibe.
Pro Tip: Use washable fabric so you can launder the canopy when it gathers dust.
Furniture & Storage
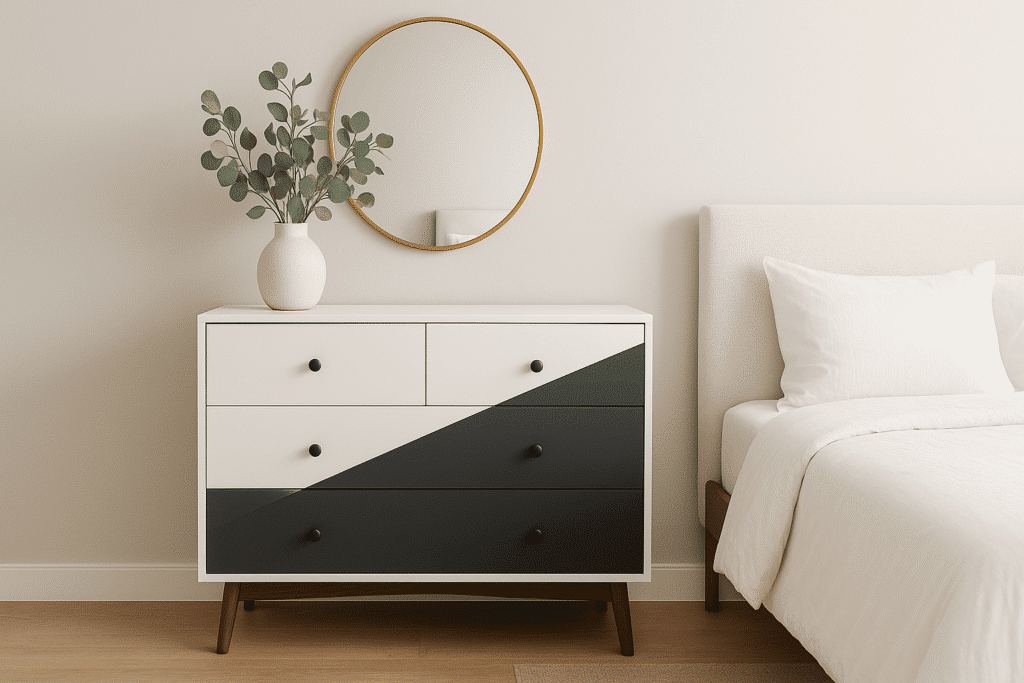
5. Two-Tone Painted Dresser
Materials
- Sandpaper or liquid deglosser
- Primer (if the surface is glossy)
- Chalk or latex paint in two contrasting shades
- Painter’s tape
- Drop cloth
Steps
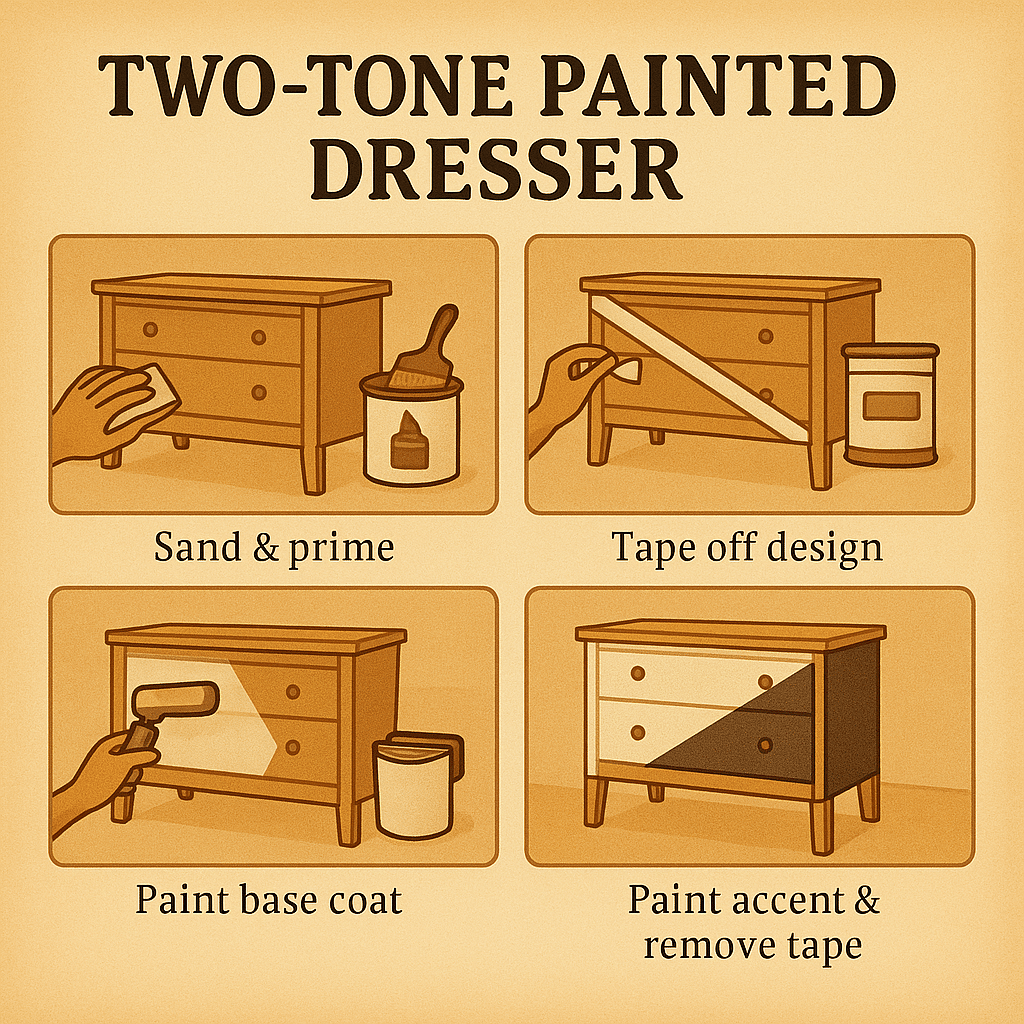
- Prep the piece. Sand lightly or wipe with deglosser; apply primer if needed and let dry.
- Tape your design. Create stripes, blocks, or angled sections with painter’s tape, press edges firmly.
- Paint first color. Roll or brush on the base shade; allow to dry fully (per paint instructions).
- Apply second color. Paint the remaining sections; two coats may be needed for even coverage.
- Remove tape. Peel while paint is still slightly tacky to avoid chipping.
Pro Tip: Keep a scrap of wood to test paint and tape layout before committing on the furniture.
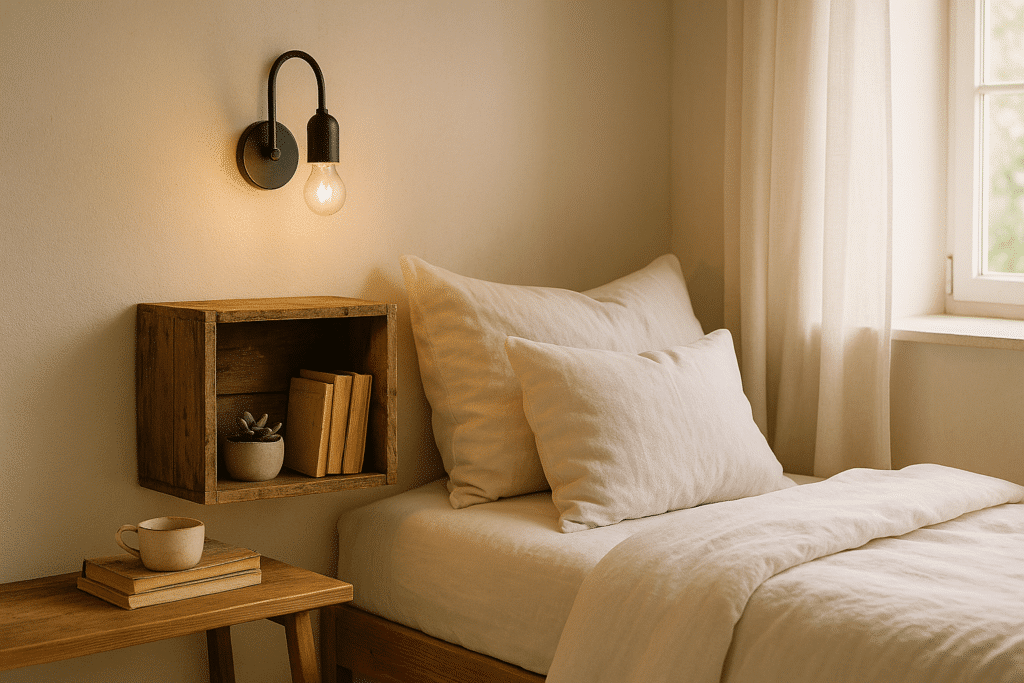
6. Floating Crate Nightstand
Materials
- Small wooden crate or box
- Wall-mounting shelf brackets or L-brackets
- Screws and wall anchors
- Paint or stain (optional)
Steps
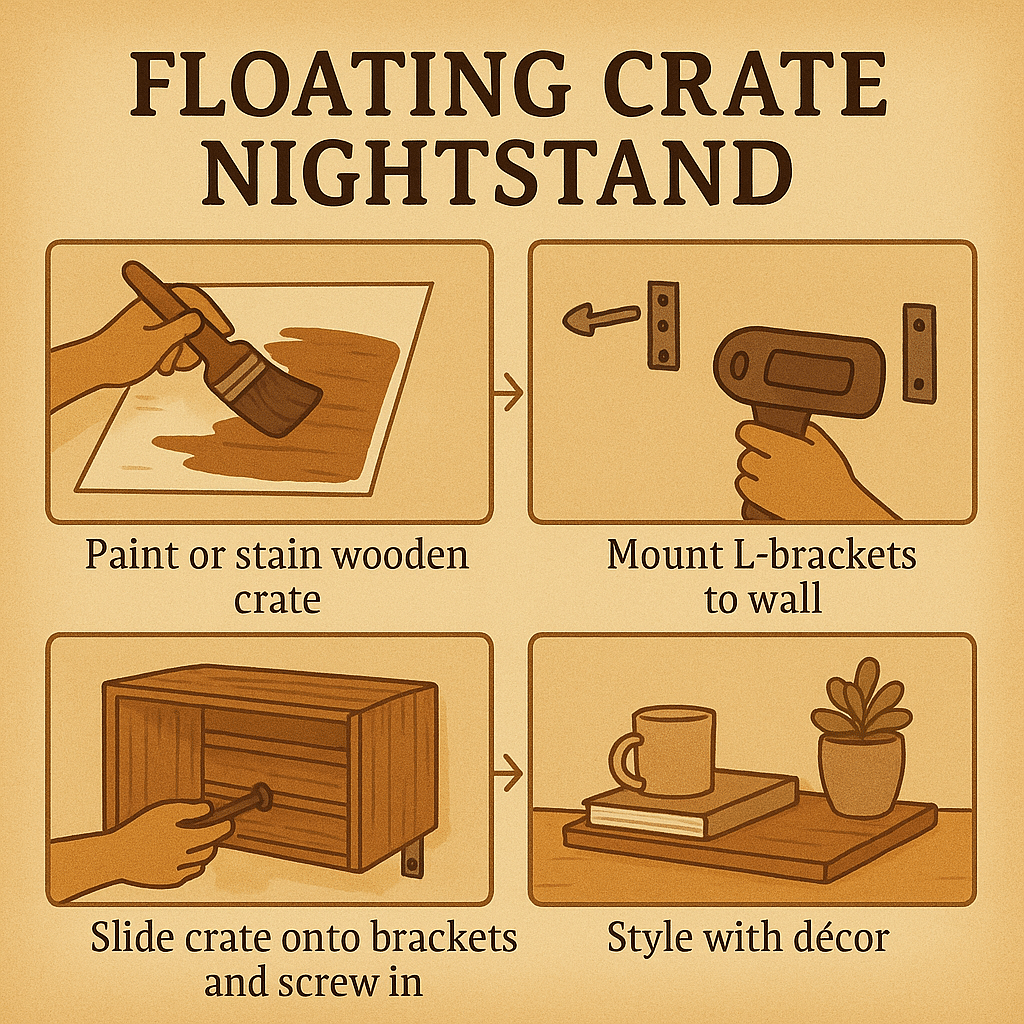
- Finish the crate. Paint or stain as desired and let dry.
- Install brackets. Level and secure two brackets to the wall at your ideal nightstand height.
- Mount the crate. Slide the crate onto brackets; screw through the bottom into the crate for extra hold.
- Style and store. Use the top for a lamp and bedtime book; stash magazines inside.
Pro Tip: Add a strip of LED tape beneath the crate for a soft night-light effect.
Textiles & Accents
7. Personalized Photo Pillow

Materials
- Plain pillow cover (cotton or linen)
- Printable iron-on transfer paper
- Inkjet printer
- Iron and ironing board
Steps
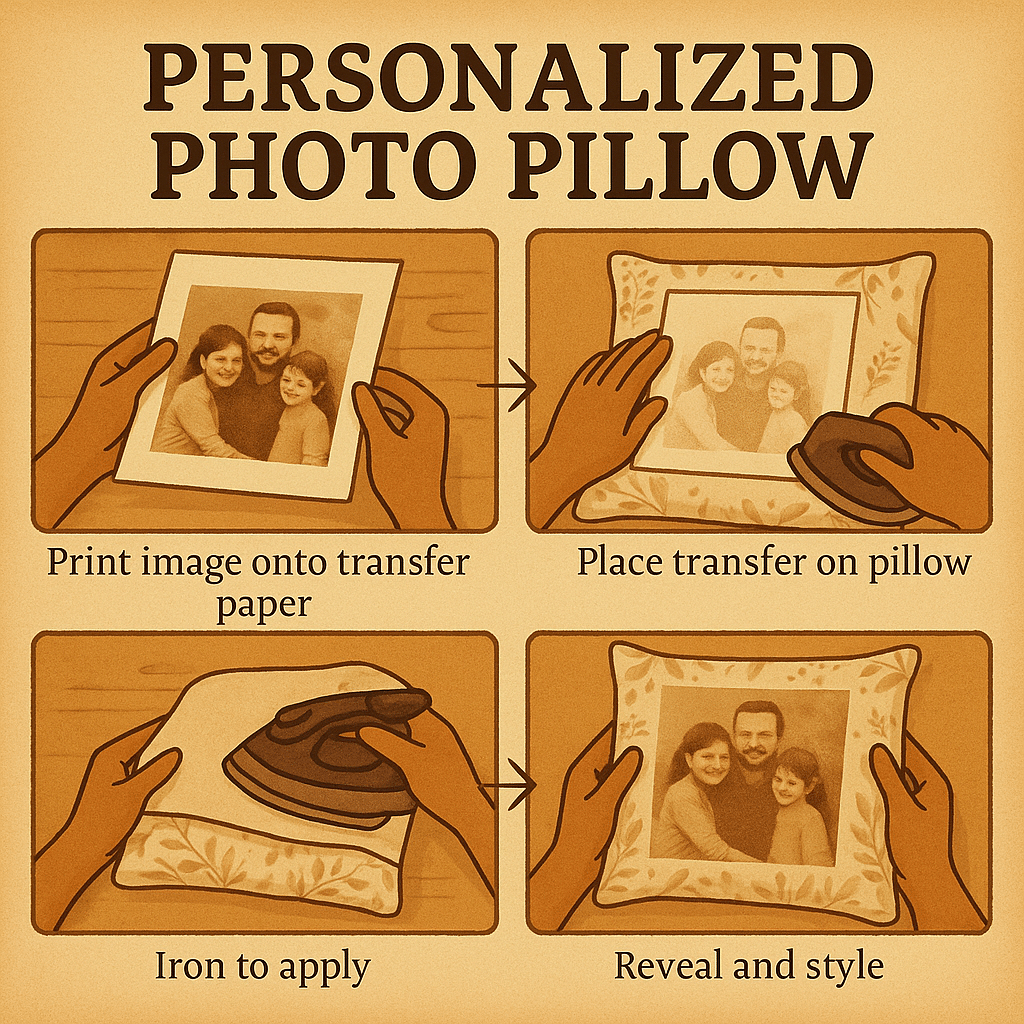
- Pick and print. Crop your favorite photo to pillow size, print on transfer paper per package directions.
- Position the design. Lay the pillow cover flat, place transfer face-down, and cover with a cloth.
- Iron on. Press firmly, moving in slow circles for 2–3 minutes. Let cool.
- Peel backing. Gently lift the paper to reveal your image.
Pro Tip: Wash the cover inside-out on a gentle cycle to protect the print.
8. Mason Jar Lantern Candle Holder
Materials
- Mason jar with lid removed
- Sand, colored beads, or decorative stones
- Tea light or LED candle
- Lace ribbon or twine (optional)
Steps
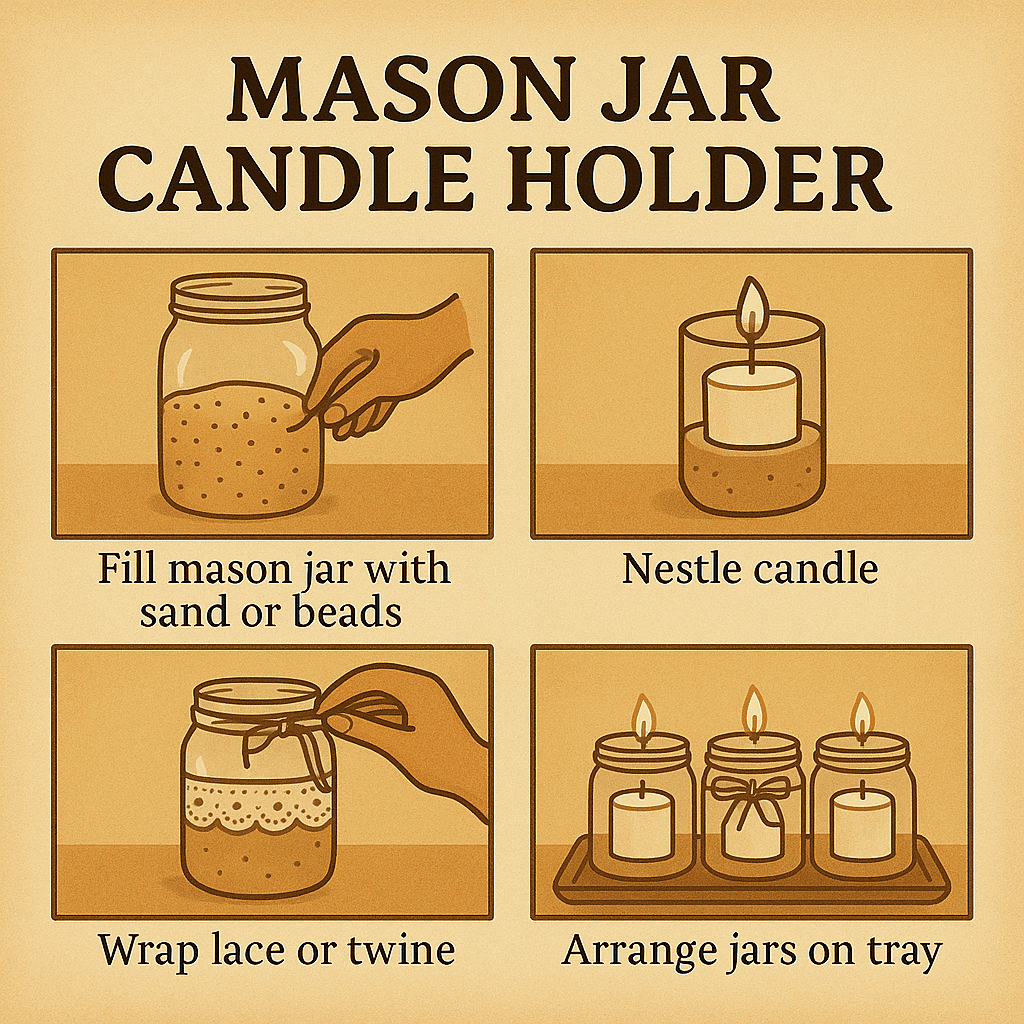
- Fill the jar. Add a 1–2″ layer of sand or beads for stability and texture.
- Insert candle. Nestle the tea light or LED candle into the center.
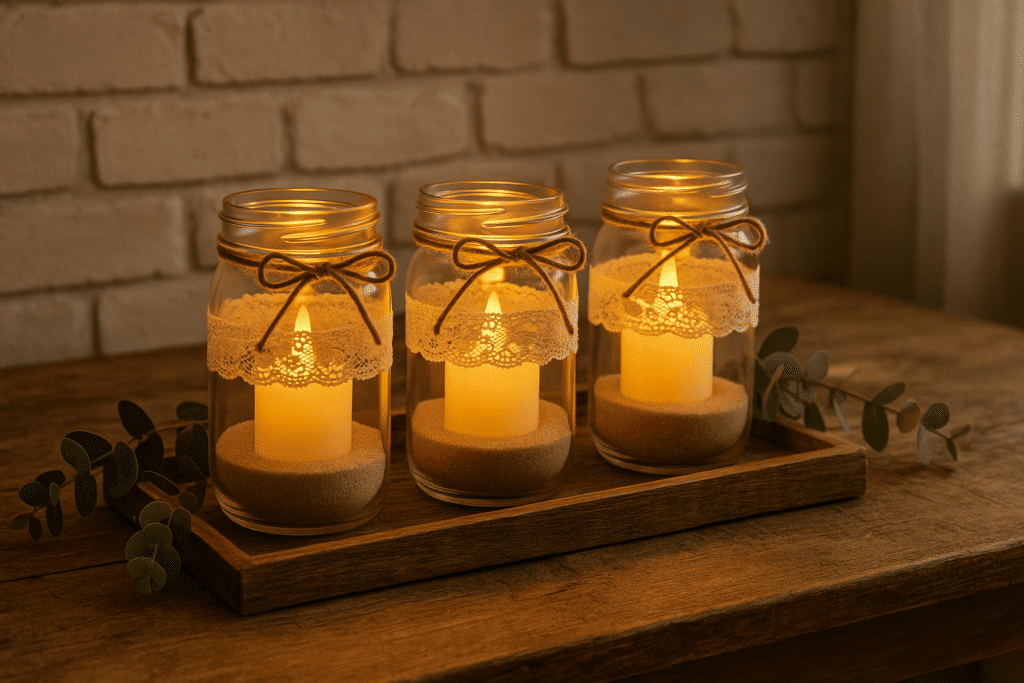
- Embellish. Tie lace or twine around the jar neck for a vintage-chic touch.
- Display. Group several jars on a tray for a glowing bedside vignette.
Pro Tip: Swap white sand for small shells in summer for a coastal look.
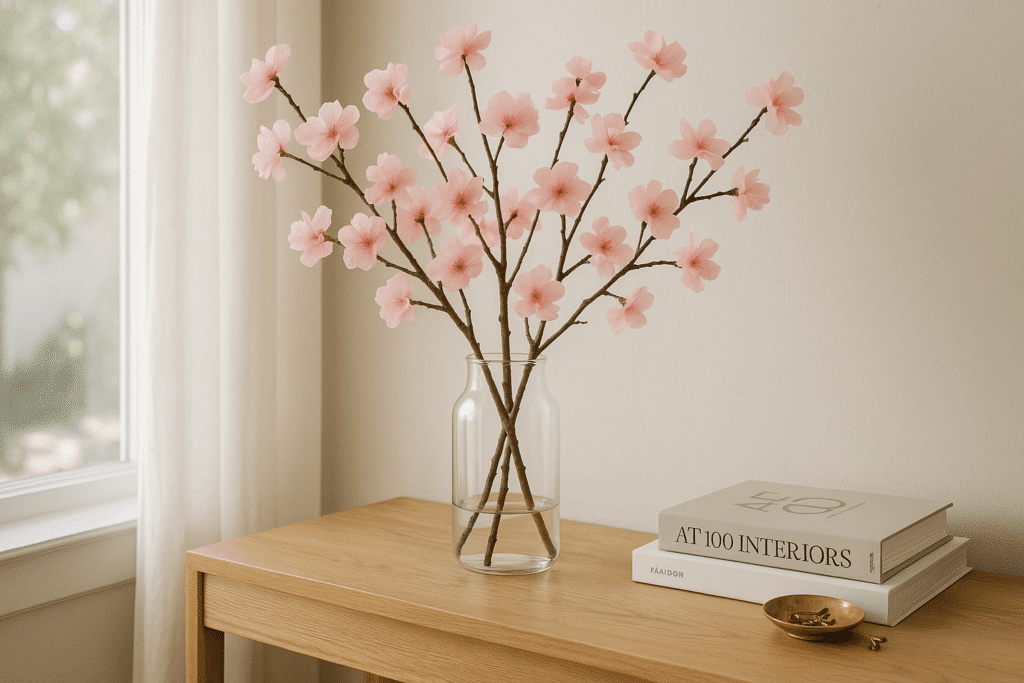
9. Tissue-Paper Cherry Blossom Branches
Materials
- Tissue paper in pink and white
- Thin floral wire or natural twigs
- Hot-glue gun
- Floral tape (optional)
Steps
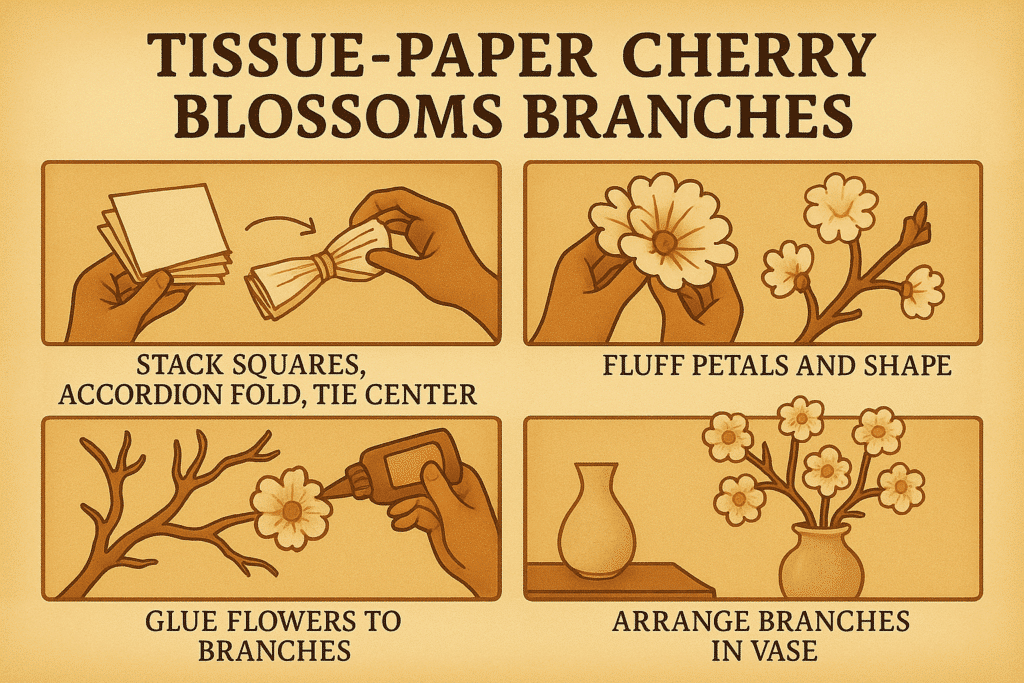
- Make blossoms. Stack 5–6 tissue squares, accordion-fold, tie the center with wire, then fan out petals.
- Attach to branch. Glue blossoms along wire or twig at varying angles.
- Secure stems. Wrap joint areas with floral tape for a finished look.
- Arrange in vase. Display branches alone or mixed with real greenery.
Pro Tip: Vary blossom sizes by cutting different-sized tissue squares for depth.
Getting Started
Pick one or two projects that match your style and time. Gather supplies from craft stores, thrift shops or recycle what you have at home. As you check off these DIY bedroom decor ideas, you’ll craft a cozy, one-of-a-kind space—one weekend at a time. Enjoy the process and make it yours!
